
Dessert time! Who wouldn’t want a banquet epilogue that’s just as great as the main entrée? Well, the sweet tooth can also celebrate in wonderful times like this. Now, it’s possible to enjoy the treat with this Gluten-Free Apple Pie Recipe!
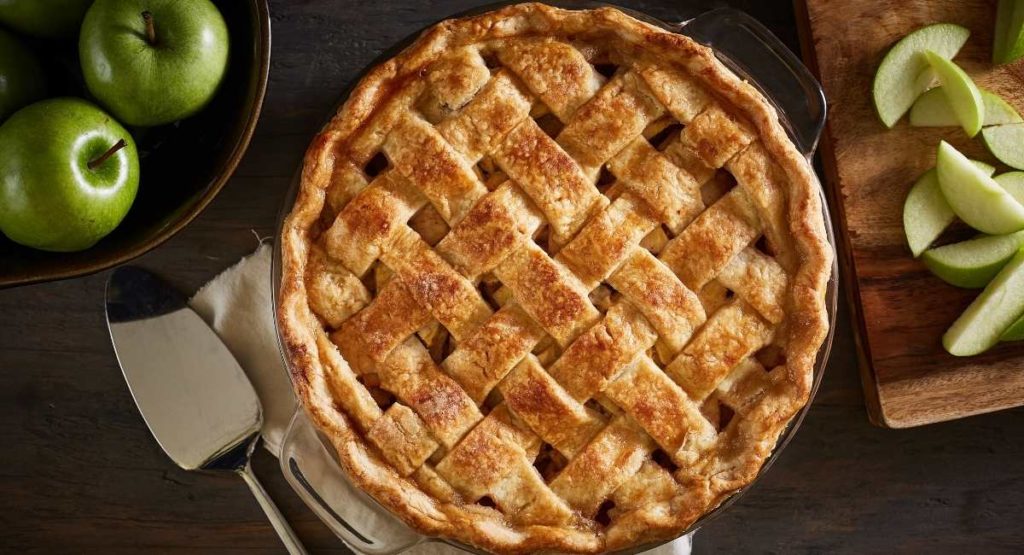
Apple pie is a traditional Christmas recipe. You can play around with dough to make a myriad of fun designs: lattice, Christmas-tree shapes on top, and more. It’s actually a great idea to create this with the children, for those children at hearts or just anyone. Besides the aesthetics of the pie, what’s most exciting is the rich, tart, sweet filling that’s so homey and cozy. That’s all good though, except for the loads of sugar and carbohydrates. But now, we can bring in the “I’m home for the holidays!” feel with a revamped apple pie.
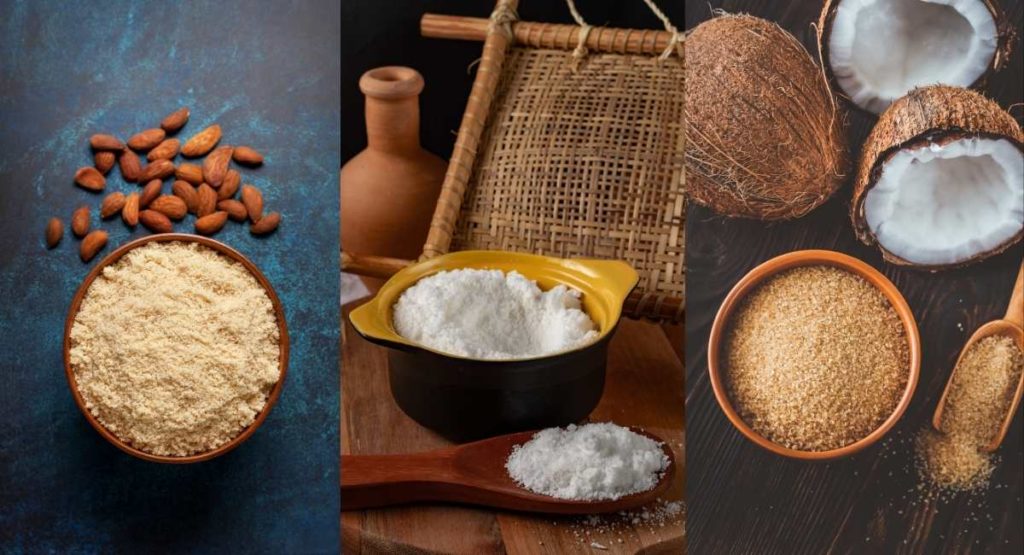
With this version, we replaced our conventional flour with almond and tapioca flour, which are considered to be the building blocks of gluten-free baking. Then, instead of the regular sugar, we get our sweets from coconut sugar. All the other ingredients are similar to the classic apple pie recipe, so as the directions for making this. This is an easy feat! And for a vegan alternative, you can replace the egg in the recipe with Ener-G Egg Replacer.
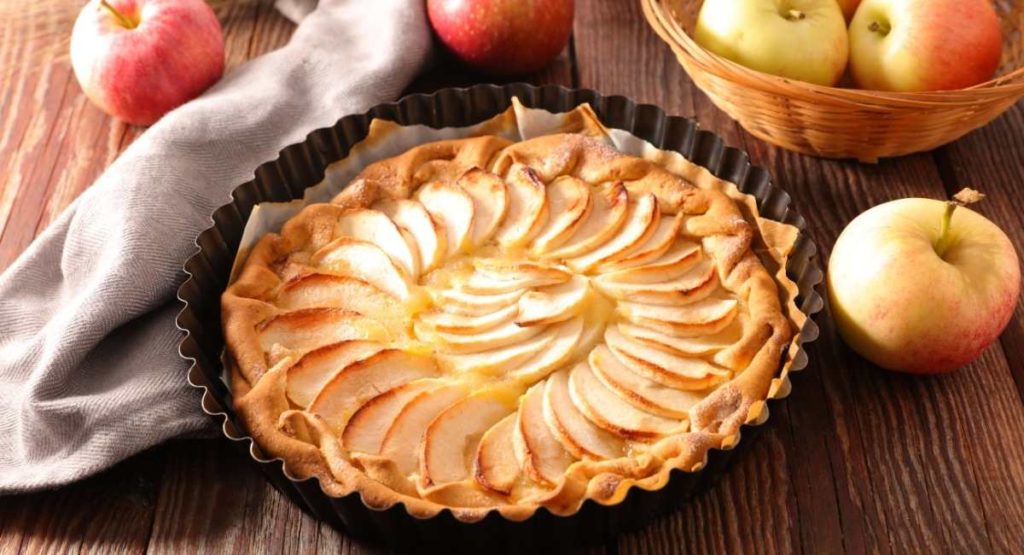
This homemade Gluten-Free Apple Pie is indeed a perfect curtain closer to a hearty, healthy, special Christmas feast.

Gluten-Free Apple Pie
Equipment
- Food Processor
- 9-inch Pie Tin
- Pastry Brush
Ingredients
For the Crust:
- 2 cups almond flour
- 1 cup tapioca flour or tapioca starch
- ½ teaspoon sea salt
- ½ cup or 1 stick butter cold, cut into cubes
- 1 large egg
For the Filling:
- 5 small apples preferably gala or granny smith, peeled, cored and sliced thin
- 2 teaspoon lemon juice freshly squeezed
- ½ cup coconut sugar
- 1 teaspoon vanilla extract
- ½ teaspoon ground cinnamon
- ½ teaspoon ground nutmeg
- ¼ teaspoon ground ginger
- Egg wash as needed (see notes)
Instructions
To make the pie crust:
- Combine all the crust ingredients in a food processor and pulse until the butter is broken down into pea-sized pieces. Be careful not to overprocess it. Beat the egg in a small bowl and add to the mixture. Pulse again for 2 or 3 times.
- Shape the dough into two round disks, wrap in plastic wrap, and refrigerate for at least 4 hours or overnight.
To make the pie:
- Preheat the oven to 350ºF.
- Remove one dough disk from the refrigerator. Roll out the dough between two parchment papers until you come up with a circle that’s about 12 inches in diameter. Place the pie dough into your 9-inch pie tin.
- In a large bowl, combine all the filling ingredients. Spoon the mixture into the dough-lined pie tin and refrigerate it while you’re rolling out the other dough.
- To make the top crust, take out the second dough disk from the refrigerator and roll it out into the same size as the first one. If you’re making a lattice, slice the dough into 8 or 10 strips and rest the lattice on a separate parchment paper.
- Remove the chilled pie from the refrigerator and place the top crust, either as a whole rolled pastry or a weaved lattice. Seal the edges together or crimp the crust if desired. If your top crust is a whole rolled pastry, poke a few holes on top (you can even do it with some designs!) so that the pie can vent while baking.
- Brush the crust with egg wash and bake for about 1 hour or until the apples are tender, the filling is bubbly, and the crust is golden brown. Remove from the oven and let it cool for at least 1 hour before serving.
Notes
- If you find it difficult to work on your pie crusts, it might be an indication that the dough is too warm. Thus, you may simply refrigerate or freeze your dough for a few minutes until it’s cool enough to handle.
- When filling your pie, try your best to fill it as compact as possible, leaving as little space as you could in between the apples. Apples can shrink a little during baking so this process can help prevent a soggy pie.
- Egg wash helps in creating a shiny, golden brown pie. You can make an egg wash by simply mixing together an egg and a tablespoon of water.
- During baking, if you find the crust browning too quickly, remove it from the oven and cover the pie with aluminum foil.
- For the vegan alternative, simply replace the egg with Ener-G Egg Replacer.
Nutrition
Did you make this recipe? Share with us your experience through the comments section down below.